BCSI Guides Truss Installation Process
Originally Published by: SBCA Magazine — August 1, 2023
SBCA appreciates your input; please email us if you have any comments or corrections to this article.
Best Practices for Truss Installation - Part 1
The Importance of Understanding the Process
Truss installation is not a task to be taken lightly. It requires meticulous attention to detail, as improper handling, installation, or bracing can lead to property damage, serious bodily injury, or even death. This is particularly true for long span trusses, those with clear spans of 60 feet and greater.
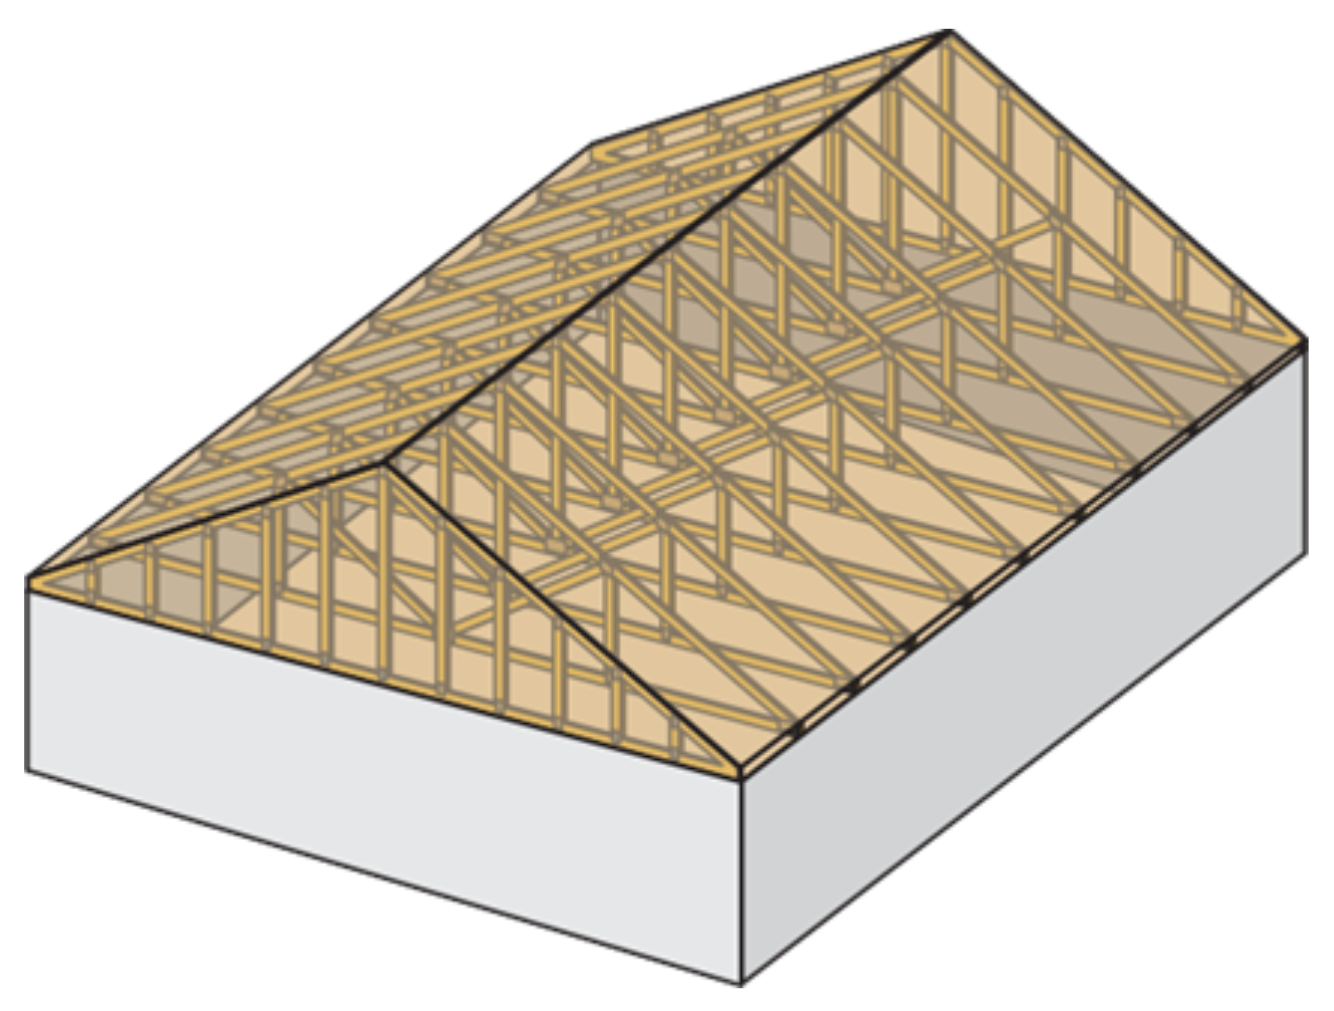
Design Drawing and Documents Review
Before handling a truss, it's vital to examine the Truss Design Drawings (TDD) and Truss Placement Diagram (TPD) and review all supplied jobsite package documents with the installation team. Having a cohesive understanding of the project design, the building’s structural framework, bearing locations, related installation conditions, and safety measures at the beginning of the installation process prevents mistakes, incidents, and costly corrections resulting in an efficient and quality build. Begin installing trusses only after the TDDs and supporting documents have been reviewed, questions have been clarified, and any unsatisfactory conditions with the plan, materials, and site have been addressed.
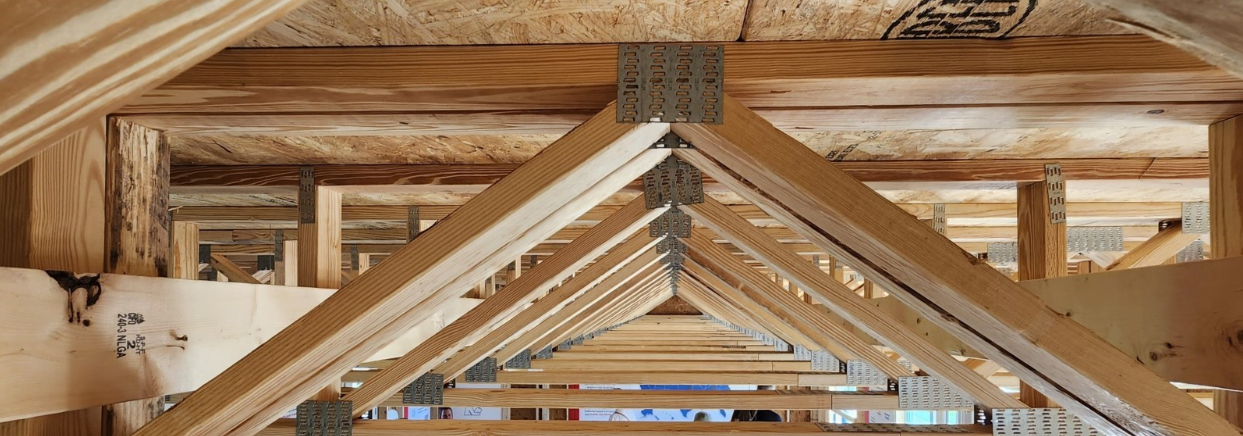
Inspect Components Early and Often
It’s imperative to inspect each truss at the time of delivery and after installation. When examining a truss, the installation supervisor and crew should check to verify that the trusses delivered correspond with the TDDs. They must also inspect trusses for missing or dislodged connector plates; cracked, dislodged, or broken members; and any other damage that may impair the trusses structural integrity. It’s in the entire project teams’ best interest to conduct a thorough evaluation before completing the structural frame because even one compromised truss can weaken the entire building system. If damaged or missing, trusses are flagged prior to installation and the Component Manufacturer (CM) must be contacted immediately. In the event damage is found on a component after it’s been installed but before the project is complete, temporarily bracing or supporting the trusses can help to mitigate further damage until required repairs can be completed. Additionally, it is essential to delay the installation of plumbing, electrical, and mechanical runs, keeping the area clear pending the proper completion of any required repairs.
Never Modify a Truss Without Prior CM Approval
Do not cut, drill, relocate, add, or remove any truss member or metal connector plate without the express consent and instructions from the CM. Doing so will potentially jeopardize the structural integrity of the truss, increasing the responsibility of the builder and installer liable.

Protecting the Truss Protects the System
Trusses must be protected from corrosion, lateral bending, damage, and deterioration when stored at the jobsite. If trusses are stored on-site, make sure to utilize blocking, stringers, pallets, platforms, and other means of support to keep them off the ground or braced in an upright position to avoid damage.
The next article will delve into the importance of reviewing design and package documents (TPDs), key installation techniques, and critical safety considerations. These best practices detailed in BCSI will further enhance the efficiency and safety of truss installations leading to successful construction projects.